Windows 10 で Windows 生体認証サービスを有効化/無効化する方法
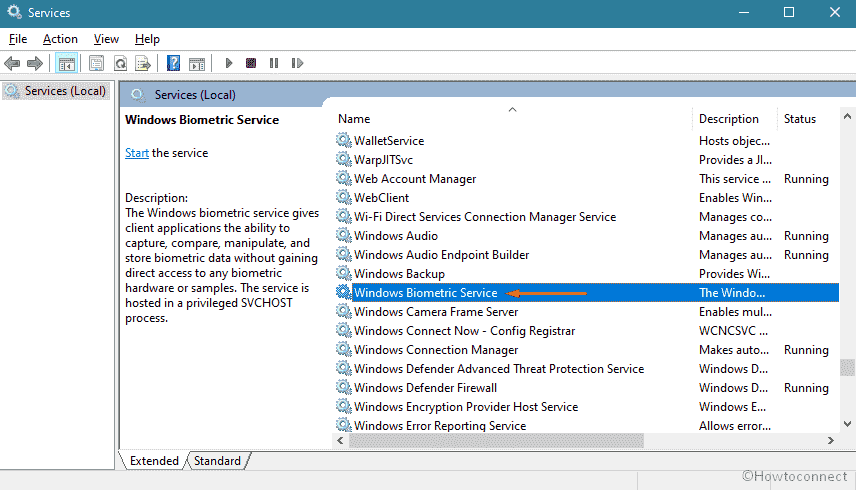
Modern days laptop and PC comes with built-in face or fingerprint scanner. Windows バイオメトリック サービス (WbioSrvc) は、この機能を管理し、クライアント アプリケーションがバイオメトリック データをキャプチャ、比較、操作、および保存できるようにするために使用されます。 このサービスでは、生体認証ハードウェアやサンプルに直接アクセスする必要はない。 このサービスは特権のある SVCHOST プロセスでホストされ、これを有効にすると、システムはこのデータを実行できます。
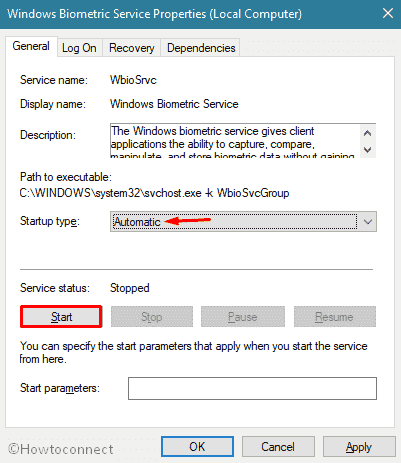
サービスはしばしば有用ですが、あまり使用しないので無効にしておきたいという人もいます。 また、このサービスは、CPU とディスクの使用量を増加させることがあります。 この実行ファイルへのパスは、C:³³³³.exe -k WbioSvcGroup.
Enable/disable Windows Biometric Service in Windows 10
- Press – Windows + S.
- Type in – services.
- From the available list, find – Windows Biometric Service.をクリックします。
- Double-click the same.
Hit – Enter.
Enable
- Click the drop-down for – Startup type.
- Choose – Automatic.Doをクリックします。
- Hit – Start.
Disable
- Again, click the dropdown beside – Startup type.
- Select – Disabled.
- Disable
- のドロップダウンを選択。
- Click – Stop.
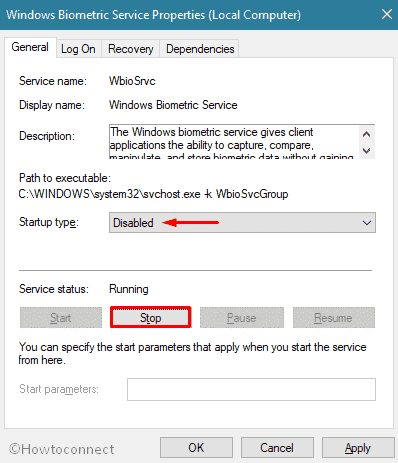
- Lastly, hit Apply followed by OK.
That’s all !!!